
When some guy starts to play with Arduino, he is mostly advised to download Arduino IDE, the official and most feasible tool to develop Arduino sketches.
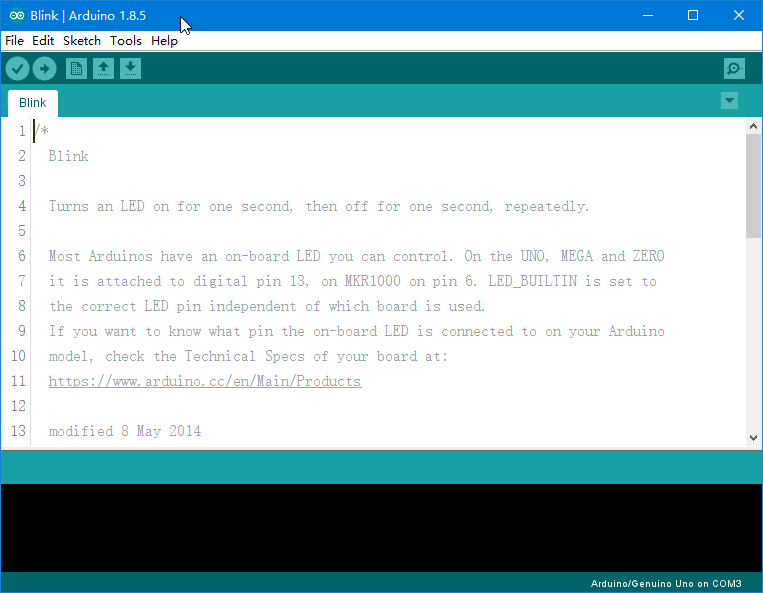
To be honest, Arduino IDE is far away from an ideal tool, even for writing sketches less than 100 lines. It lacks many advanced features that an modern IDE is supposed to have. Auto-completion, for example, is the must-have IDE feature that is absent in Arduino IDE.
There are better alternatives, such as Programino which is a paid software. If you are seeking for a free and open source one, PlatformIO is right there.
As its name suggests, PlatformIO is a platform. It supports more than 500 boards and dozens of platforms and frameworks, among which is our beloved Arduino.
How to Install PlatformIO?
Installing PlatformIO is very easy, because it is just an extension for Visual Studio Code (VS Code) or Atom Editor.
First of all, you need one of the abovementioned editors installed. Take VS Code as example, you click the Extension icon (Ctrl + Shift + X) on the left bar, type PlatformIO, then click PlatformIO IDE from the extension list. On the PlatformIO page, click Install. It will take a few seconds to finish installing.
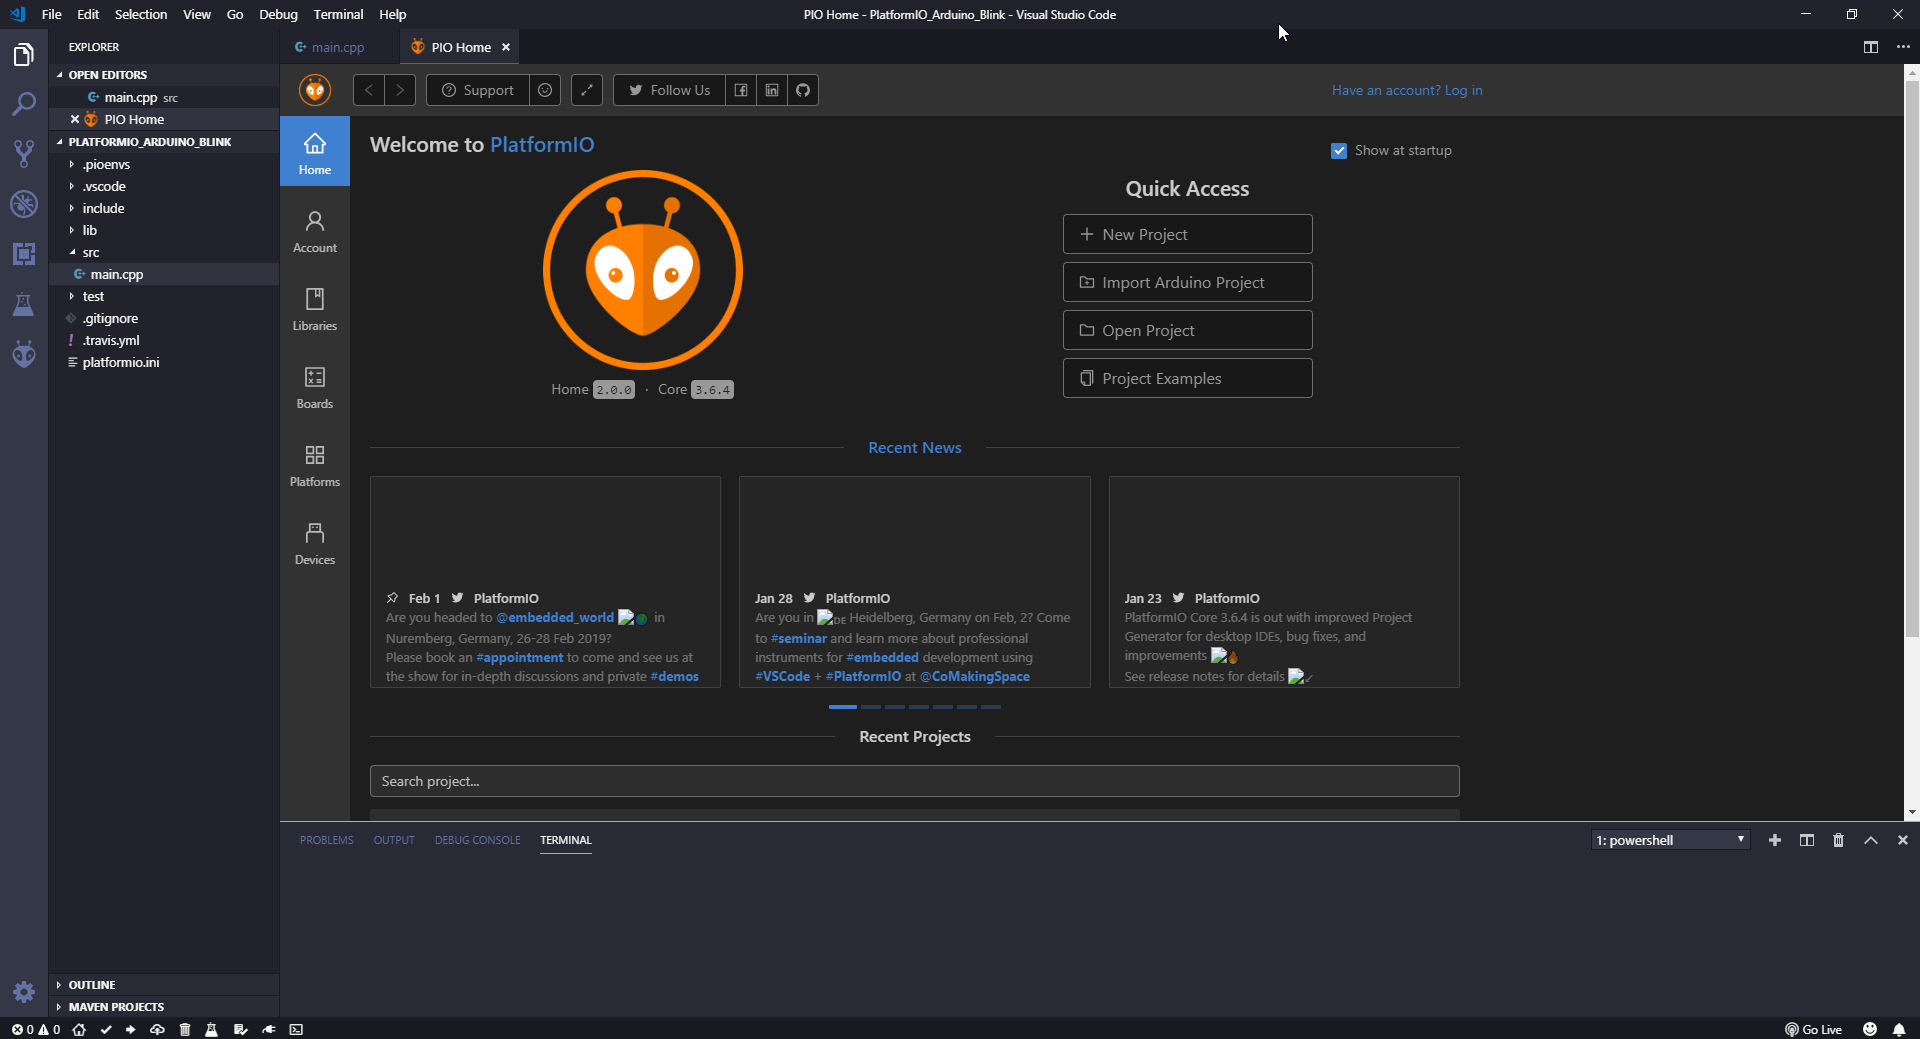
If you use VS Code 1.31 or newer versions, you can see the PIO Home tab immediately. For early versions, you need to reload the editors.
How to Create Arduino Projects?
It is very easy to create an Arduino project in PlatformIO.
On the PIO Home tab, click New Project. On the Project Wizard dialog, fill in a name for your project, select a board and framework, then click Finish.
If you are using the board type and framework for the first time, PlatformIO will take some time to download and install some dependencies.
Coding in PlatformIO
Then you can write sketch code in the src/main.cpp file. For this demo project, I just turn on and off the builtin LED (via Pin 13) with a delay of one second.
As you can see, the auto-completion feature is very handy when coding.
How to Build and Upload?
It is pretty straightforward to build and upload a sketch into your Arduino.
First, connect your Arduino to your computer, then click Build and Upload on the left bottom corner of VS Code. After a couple of seconds, your Arduino start blinking, as expected.
It works!
Other Advantages to Use PlatformIO
In addition to auto-completion, there are many features that can help you develop hardware projects. For example, source control with git is the tool to develop complex projects and collaborate with other people.
By using PlatformIO and VS Code, you can start learning a pantheon of hardware platforms, in an extremely convenient way.
Now you got the best of both worlds. Enjoy it and create things amazing.